Items
This menu allows to create, edit or delete items (products).
In order to open item management page, press Management -> Items.
New item (product) creation
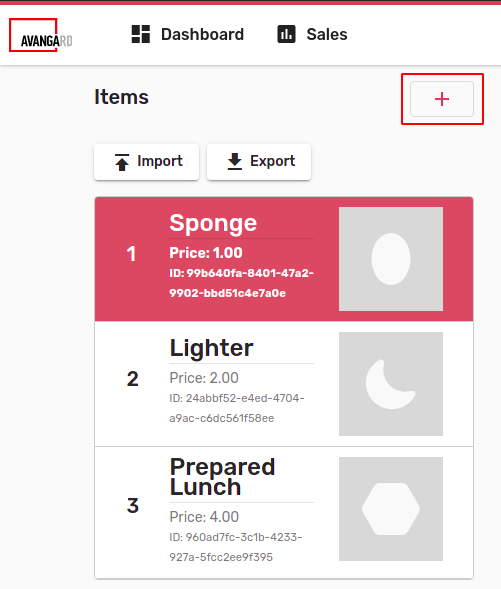
For new item (product) creation, press the + button in top left.
Item creation page will open.
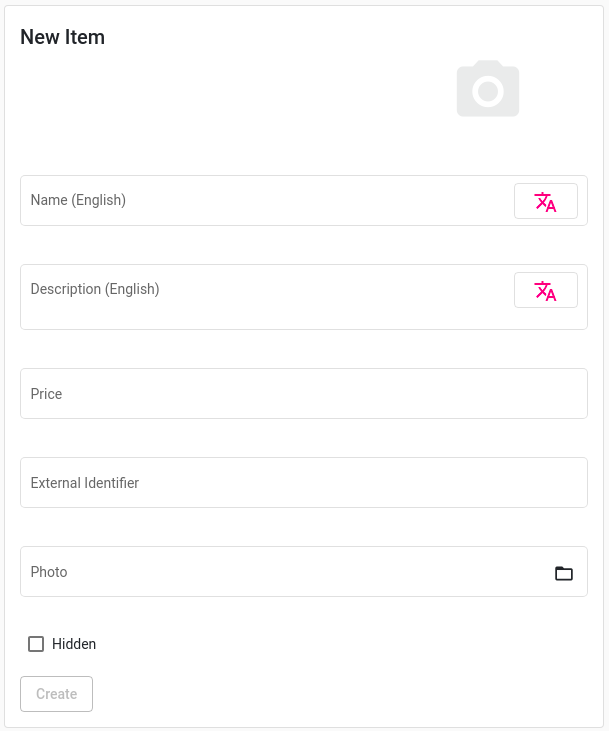
For item creation enter information in each field and press Create.
-
Name -- item (product) name
-
Description -- short item (product) description
-
Price -- item price
-
Photo -- item picture
-
Hidden -- item (product) visibility on external interface of vending machine
-
Field Name and Price are mandatory. New item (product) won't be created until these fields are empty.
Item picture selection
For item (product) picture setup click on Photo field. File explorer will open where it's possible to select desired item (product) picture from local computer.
Picture format supported: jpeg, jpg, png.
Translation fields
If machine has several languages, it's possible to provide corresponding localized information. In this case a special button will appear. Press this button (in red rectangle) and extra languages filed will appear.
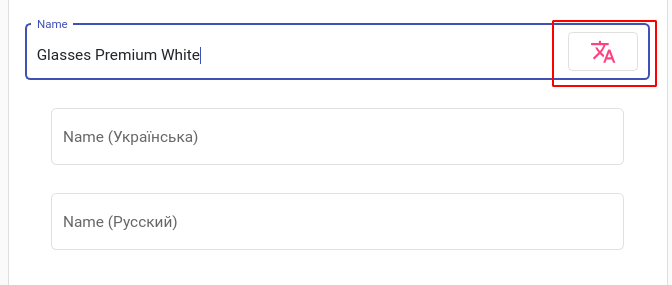
Note: All translations can be done separately in the Management → Translations menu.
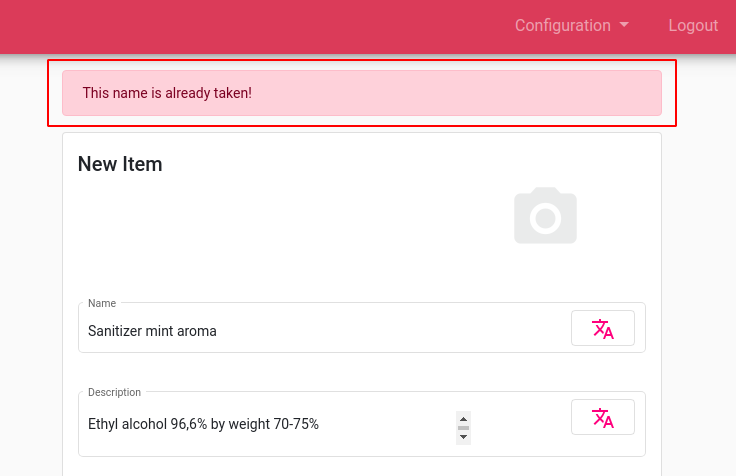
Error indication
If incorrect information is entered, the field will be in red.

Item with incorrect data cannot be saved.
Errors, which appear during form validation (for example attempt to save item with already existing name) can be seen on top of the form.
Item (product) editing
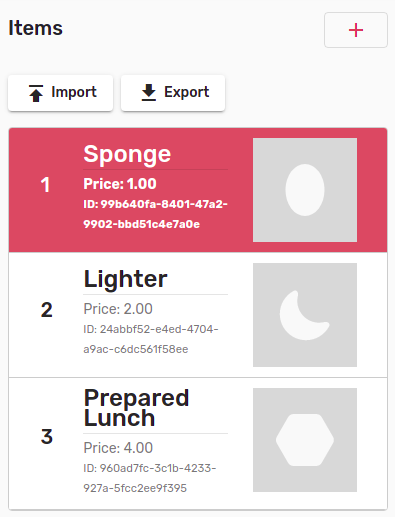
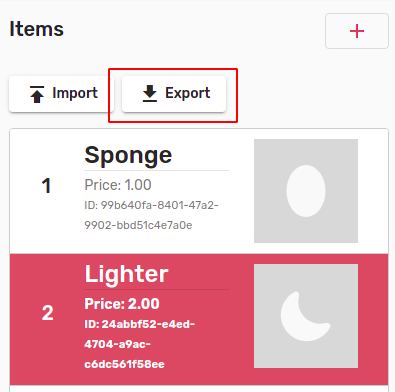
Created items (products) are shown in top left of the page.
For item (product) selection click on it. Selected item will be highlighted in red.
When item (product) selected the form on right will be opened.
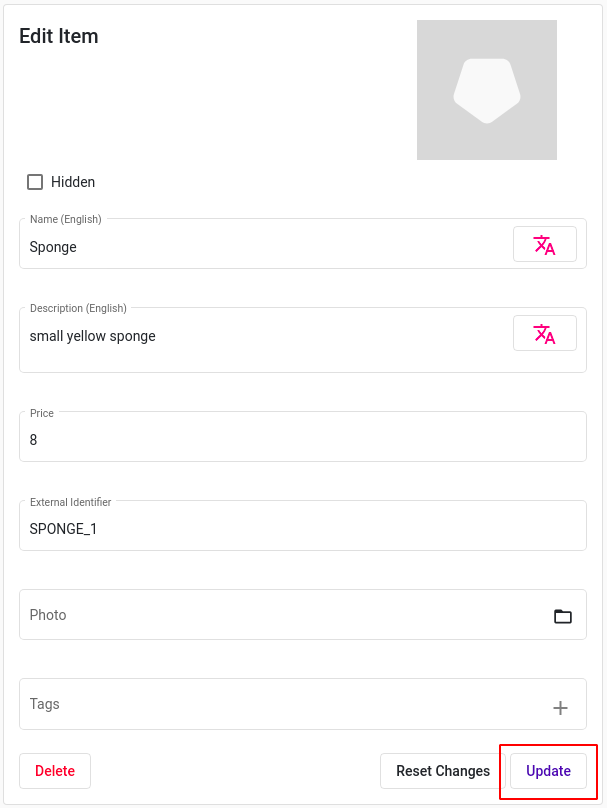
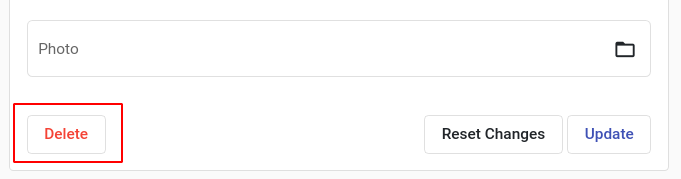
For item (product) editing enter desired changes and press Update. Item (Product) will be saved with newly entered information.
Update button will be activated only after new information is entered.
All changes can be reset by pressing Reset Changes. Reset is possible until new information is saved.
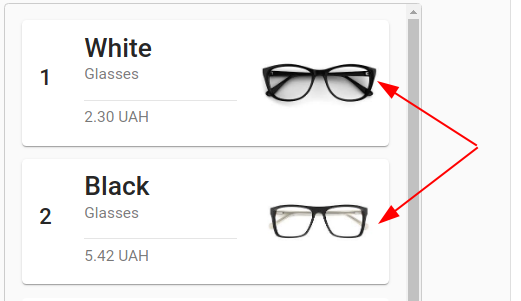
Items priority
It is possible to setup item priority. Items located at top will be displayed at first in client GUI.
In order to change priority, select item (product) and move it up or down.
Item (product) deletion
Select item (product) and press Delete at bottom.
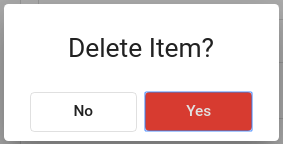
Dialog window will open. Press Yes in order to confirm item deletion.
Items export
It is possible to export created items (products) into json file.
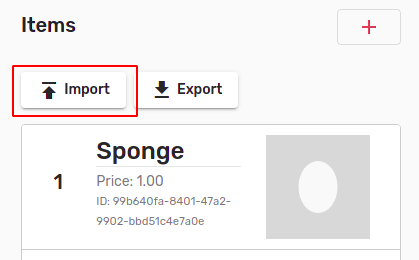
To export items, click Export at the top of the items list.
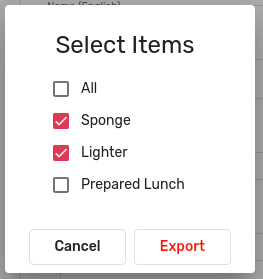
Dialog window opens. Select desired items (products) for exporting and press Export. All items can be selected by ticking the All checkbox.
Exported items will be saved to the items.json file.
Items import
Items (products) can be imported from a previously exported json file.
To import items (products), press Import at the top of the items list.
File explorer will open where it's possible to select a file for importing from a local computer.
Imported items (products) will be automatically added at the end of the products list.
Attention! Importing and exporting product pictures is not supported.